...
Very straightforward! The name of the parameter has to be 'data' by convention. Lynicon will fetch the appropriate content item and provide it to the controller through this variable.
Now create a basic view, it should be in the Views/Hello folder entitled Index.cshtml:
| Code Block | ||
|---|---|---|
| ||
@model LyniconTest2015.Models.HelloContent
@{
    Layout = null;
}

<!DOCTYPE html>

<html>
<head>
    <meta name="viewport" content="width=device-width" />
    <title>Index</title>
</head>
<body>
    <div>
        @Model.Message
    </div>
</body>
</html> |
...
Notice you will need to add 'using Lynicon.Routing' to access the extension method 'AddDataRoute'. This special route is where the CMS magic happens. You supply it with the content type and a url template which by convention uses '{_0}', '{_1}', '{_2}' etc to indicate parts of the url that are used to index into the set of content items of the specified type.
Now you can create you first content item with Lynicon. To do this, start up the site, log in with the admin account from before if you are not already logged in, and navigate to /Lynicon/Items.
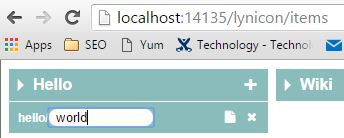
Click the '+' button on the bar entitled 'Hello' to see the url template for adding new pages. Enter 'world' into the url element box and click the 'new page' icon.
This takes you to this page:
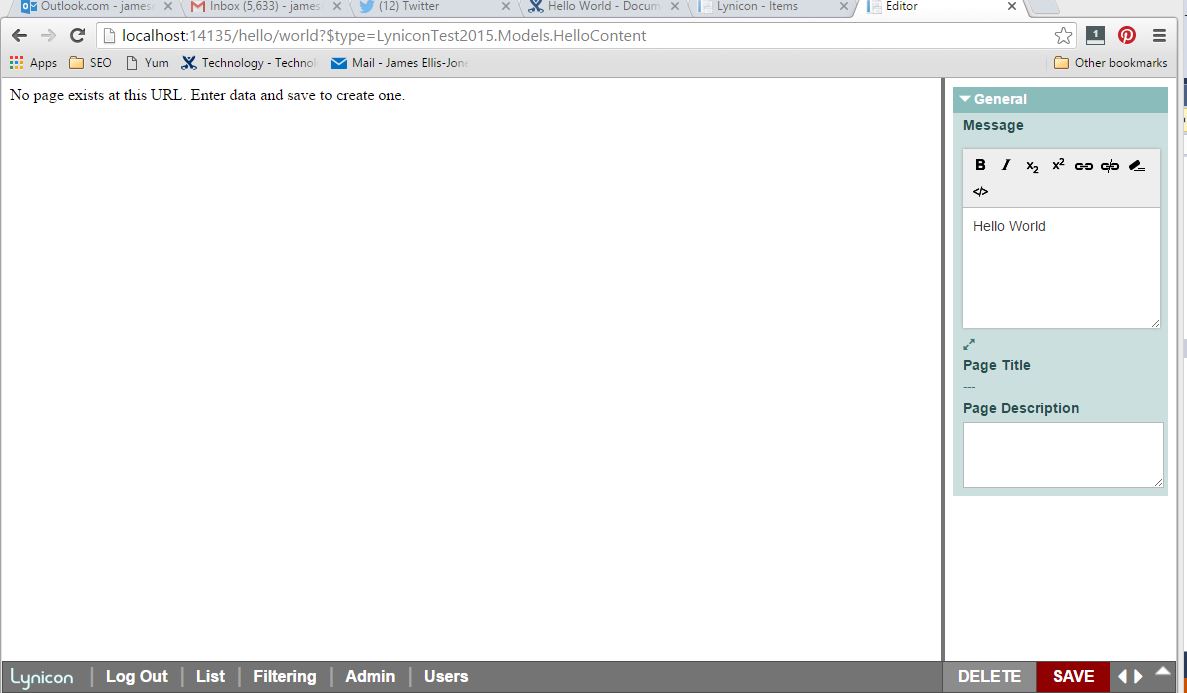
Enter the text 'Hello World' as shown into the Message box (a restricted HTML editor). You will notice the SAVE button goes red. Click it to save your changes and update the current page view to the left. You will now see the page shows 'Hello World'. If you click Log Out and go to /Hello/World you will see it as a public site user does.